After we picked out the VCT tile for our renovation, we ran into an unexpected asbestos discovery.
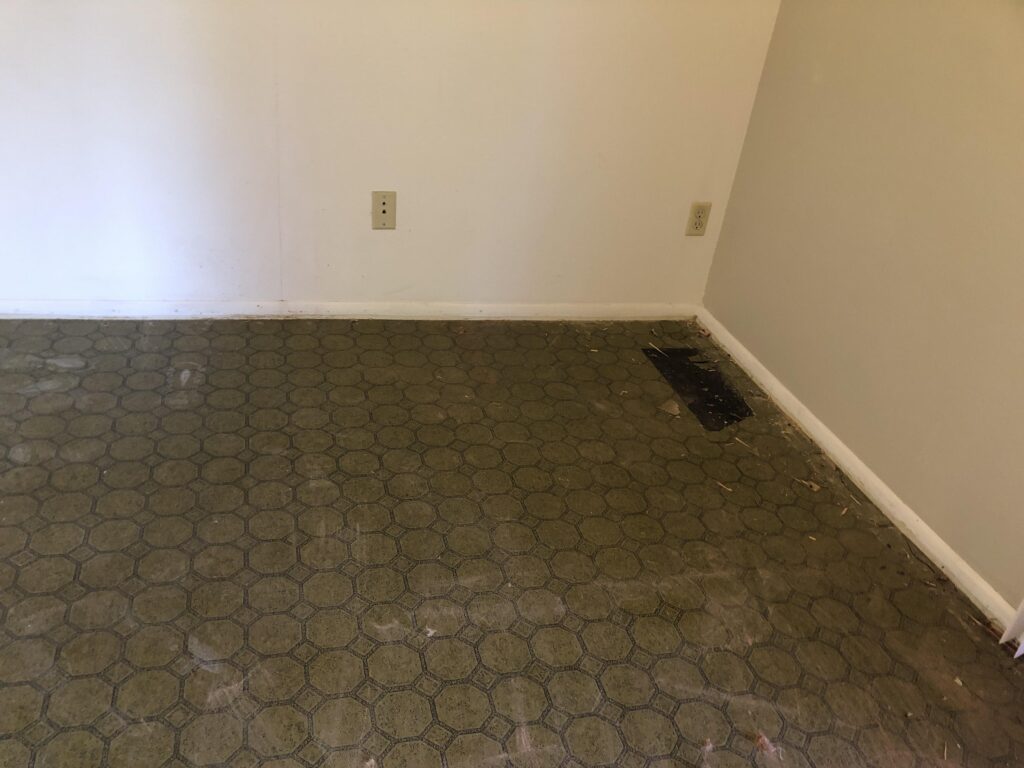
The team we hired to do the flooring came over and pulled up our carpet. Underneath was what we suspected was the original tile from the 70s.

I read online that some of these old materials from houses built in the 70s could contain asbestos.
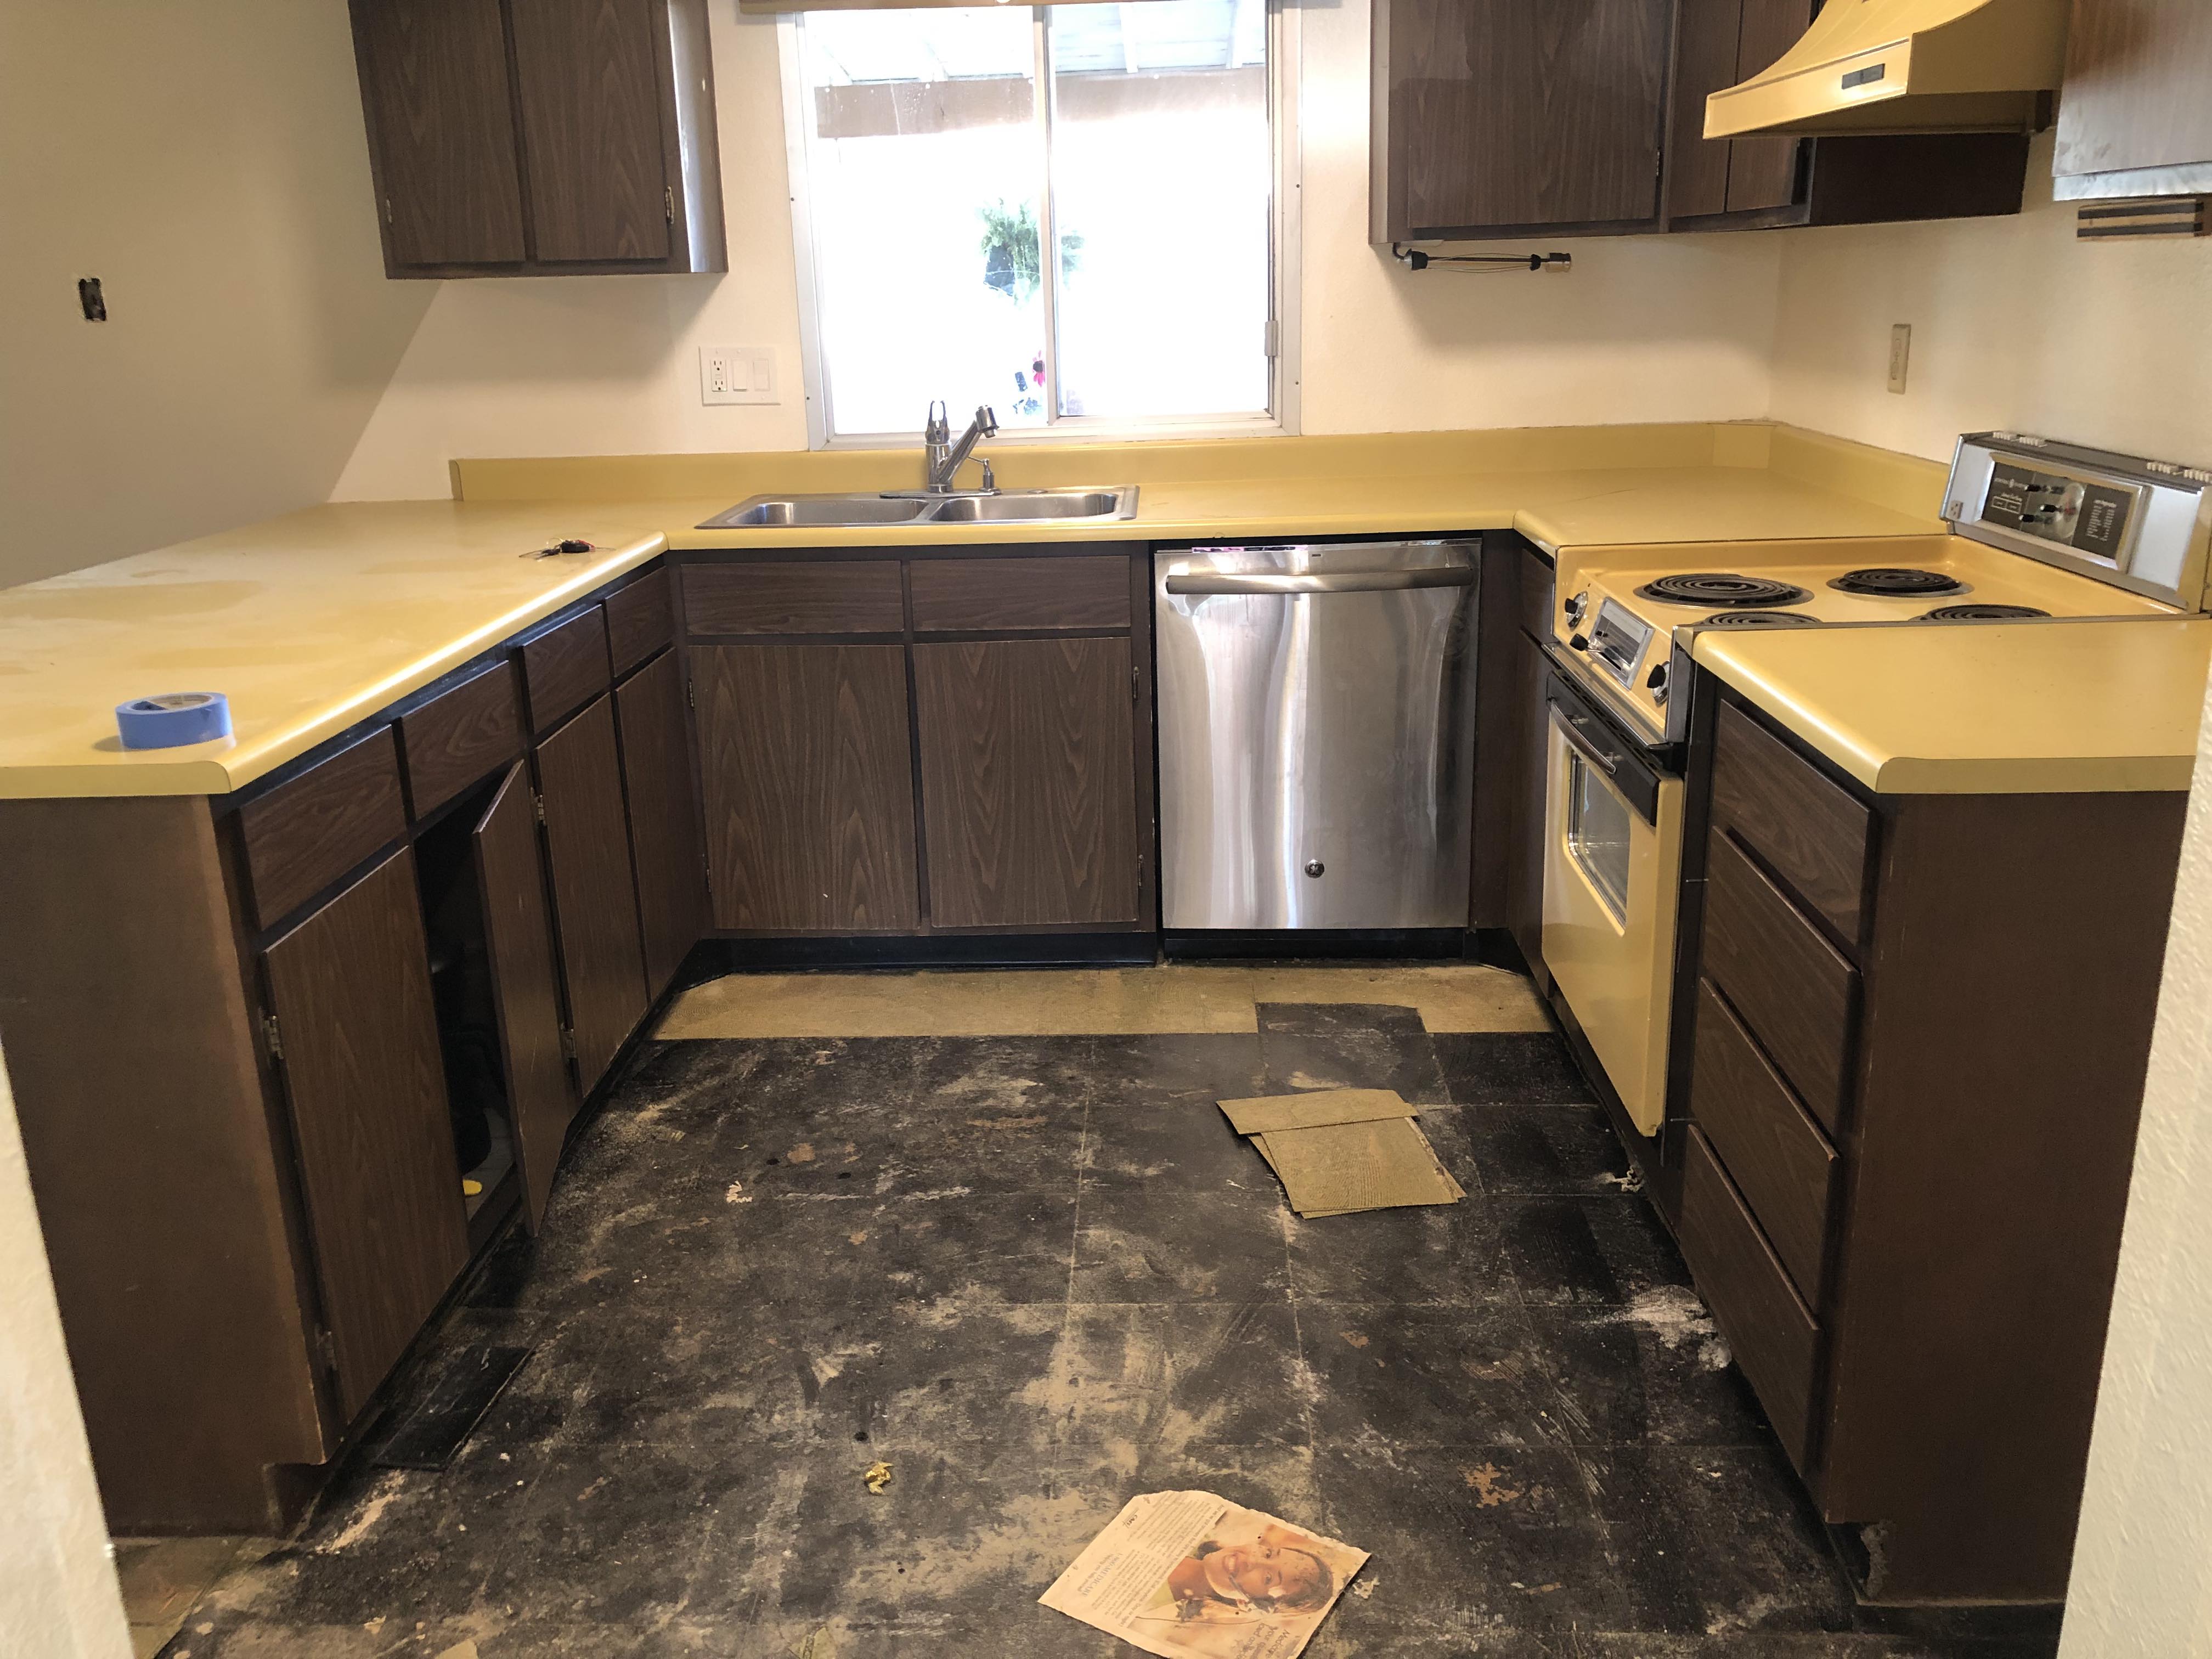
We stopped the project and got the floors (black, mastic material underneath the tile) tested. We also tested our popcorn ceilings since we learned those likely also contained asbestos.

Not surprisingly, the results were positive. Since the flooring team already pulled up our carpet and had messed with the tile already, we opted to hire an asbestos abatement team. We had the mastic flooring and popcorn ceiling removed from the dining/dining areas.
(We added the flooring in the primary bathroom since that had mastic also, but that’s a story for another day).
This delayed our project by about at least another week. They taped off the rooms and we didn’t use the HVAC system during the process. We didn’t have access to our washer, dryer, dishwasher or anything in the kitchen and dining room areas. We also had our fridge in the living room.
The team removed the asbestos and we passed the air quality test. The floor installers were now able to come back.
We learned a few things about VCT tile along the way:
- you need a special adhesive glue for this type of flooring;
- You should wait 5 days after laying the tile before cleaning, sealing, and polishing it;
- We did two coats of sealer and four coats of polish. We waited a minimum of 60 minutes between each coat;
- Let the floor sit for another 24 hours before moving furniture back onto it
So needless to say, a project we initially thought would take a couple days, took three weeks and tripled in cost.
This process was stressful. There were quite a few people in and out of our house during this time. We made frequent visits to a laundromat and had a living room crammed with stuff, including our fridge.
Thankfully, we are done with the tile piece. We still need to finish the ceiling in the dining room now.
On top of that, an unexpected plumbing issue arose when the washer was hooked back up. We needed to replace the cold water valve that was leaking.
A few days later, the HOA sent us a warning that are lawn needed to be maintained. All in all it really felt like this VCT tile renovation led to a snowball effect of random housing shit.
In my final post, I’ll go over all the costs associated with this project, my takeaways, and the resources I found to be most helpful during the process. Click here to read the first part of the series.